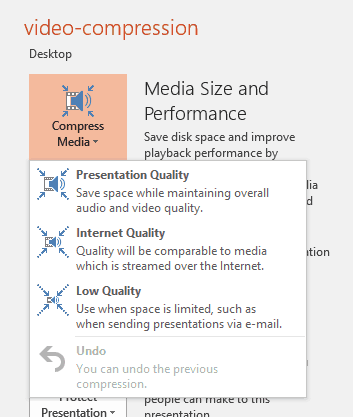
Recent versions of PowerPoint accept more video file formats than previous versions and can do a lot more with videos, including trimming of video clips. However, they also embed all inserted video clips by default, and this can result in huge presentations that contain huge video files! This ultimately occupies oodles of disk space and may also make PowerPoint work a wee bit slower. To tackle this problem, you can explore the media compression abilities built right inside PowerPoint. You no longer need any third-party media compression tool since PowerPoint’s native Media Compression options make this task very easy indeed.
To learn more, choose your version of PowerPoint. If we do not have a tutorial for your version of PowerPoint, explore the version closest to the one you use.
Microsoft Windows
Video Compression Options in PowerPoint 2016
Video Compression Options in PowerPoint 2013
Video Compression Options in PowerPoint 2010
Tutorial Code: 14 04 02
Previous: 14 04 01 Trim Video Clips in PowerPoint
Next: 14 04 03 Fade Effect for Video Clips in PowerPoint