Although it is easy to insert pictures from the Clip Art task pane, it is still a good idea to save the pictures you use locally so that you can use them anytime you want. This is important because the same picture may not show up again in the future since nowadays the pictures you retrieve via a search are those that are on web sites, and they use Bing’s search technology. Such searches are dynamic, and results can vary, even after a few hours! So it is important that you save a picture you want to use often locally, in case you want to use it in the future.
To learn more, choose your version of PowerPoint. If we do not have a tutorial for your version of PowerPoint, explore the version closest to the one you use.
Microsoft Windows
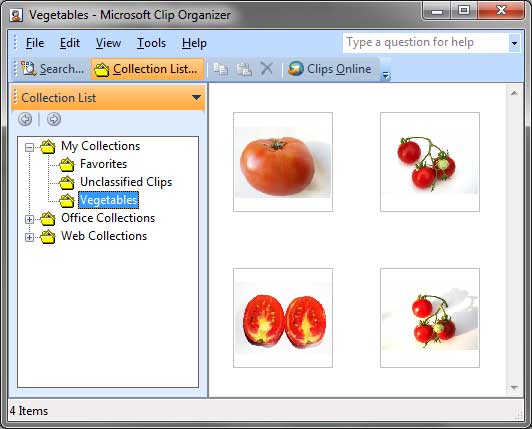
Adding Clips to the Clip Organizer in PowerPoint 2010
Tutorial Code: 09 01 11
Previous: 09 01 10 Understanding Clip Art Search Results in PowerPoint
Next: 09 01 12 Inserting Screenshots in PowerPoint